Showing posts with label Peru. Show all posts

Monday, March 26, 2012

Natural History Museum of Cusco

so, lots of strange taxidermy. love love love it.

Siamese animals....


Goat with 6 legs.


Poorly stuffed cat....

Tuesday, January 31, 2012

Puno, Peru

Puno is a city in southeastern Peru, located on the shore of Lake Titicaca. Elevation: 3,860 m (12,421 ft) Despite all of the things you hear about Puno, it itself is not actually a great place. It's not particularly pretty and everything is amazingly expensive. When people say they enjoyed Puno, what they really mean is they enjoyed Lake Titicaca. My friend Maria Lino (a video artist working on a project in and around Lima) is visiting Cusco and wanted to go to Puno and so I said I'd go with her.

We took a bus out to Puno on Wednesday morning last week. The scenery between Cusco and Puno is stunning. There is no other word for it. Right up until you get to Juliaca, maybe the ugliest city I've ever seen in my life....


This is a video I shot from the bus as we were going from Cusco to Puno.


Shot this one as well, but it's of one of the typical villages nestled in the mountains, rather than just scenery.

IMG_4109
Puno and Lake Titicaca, as viewed from the top floor sun room at our hostel.

We only spent a day and a half in and around Puno (plenty enough time). First thing first, had to get a room at a hostel. Highly recommended came the Duque Inn, run by a fabulous retired archeologist who'd specialized on the Puno Provence. He was a wealth of information and a wonderful resource when we had question after tours of places. Also, there was hot hot hot water in the showers (unlike in Cusco), so we were very happy. It was already 5-ish by the time we were settled, so we went to the big cathedral in the main square and then found a place for dinner and walked around the main area of Puno for a bit in the evening.

Thursday was adventure day! In the morning, despite the rain, we took a boat out to the floating islands of Uros.

IMG_4050
Lake Titicaca

IMG_4054
Reeds in the water

IMG_4063
coming up on the islands

You may ask "What, pray tell, is a floating island?" Well, it's a floating island made of reeds and there are little houses on top! In the winter (dry season) the reed roots become dislodged from the bottom of the lake and they cut these roots into 5mx5m blocks and tie them together to make the base of the island. Then they layer reeds on top until its 2m thick total. They add fresh reeds on top of this as needed. And of course, the houses are built on top of this, and are also made of reeds...

IMG_4071
picture of the reed roots that are used to make up the bases of the floating islands

IMG_4067
"floor" of the island, made of layered reeds

IMG_4070

IMG_4082
pet cormorants...

IMG_4088

IMG_4098

After the island building had been explained to us, the local women brought out there embroidery for us to see/buy (they have to make money from this somehow yea?) I bought a traditional embroidery of their local gods from one of the women, and got a picture of her holding up one of the other embroideries she'd made.


We took a reed boat from one island to another, rowed by the leader of the island and a few of the other men. This one was more touristy (unavoidable) but the boat was cool, and then we motored back to the mainland.

IMG_4091
The reed boat


This is one of the kids of he island leader.... He didn't look to happy to be there.

Then in the afternoon, we went to Sillustani. Sillustani is a pre-Incan burial ground on the shores of Lake Umayo near Puno in Peru. The tombs, which are built above ground in tower-like structures called chullpas, are the vestiges of the Colla people, Aymara who were conquered by the Inca in the 15th century. The structures housed the remains of complete family groups, although they were probably limited to nobility. Many of the tombs have been dynamited by grave robbers, while others were left unfinished, and all of them are now in the process of being reconstructed by the INC (archeology dpt of the Ministry of Culture). I feel like it'd be easier to re-construct them if they weren't made out of magnetic volcanic rock (from the nearest volcano, on the far side of the mountain top they're on) and they'd stop being struck by lightening....

IMG_4119
Lake Umayo and colonial church at the bottom of the site.

IMG_4132
Look at that super precise architecture!

IMG_4133

IMG_4138
Me standing next to the tallest of the reconstructed burial towers (scale reference).

IMG_4143
Lake Umayo, which holds an island that is inhabited by a single house and a heard of Vicuna...

IMG_4140
Chullpas being reconstructed.

IMG_4162
The Altiplano, outside of Puno on the way back from Sillustani.

After returning from Sillustani, we went to the Carlos Dryer Museum of Archeology. Carlos Dryer was an ex-pat painter/archeologist who lived in Puno for most of his life, and the museum is made up of his collection, plus artifacts from the region. They had 3 mummies, and it was the first time I'd seen gold at one of the museums (usually they don't put the gold out because people break in and try to steal it).

Next morning, bus trip back to Cusco. More beautiful scenery! Got back around 3, exhausted, but happy and recharged (I'd been feeling like I needed to get away from Cusco for a few days).

The Weavers

So as not to show favoritism, Nilda sometimes asks me to take pictures of the weavers backs, so you can't identify their faces. This way we have photos to choose from, just in case they need anonymous images for publication materials. However it's still really cool to just watch the women going about the process of weaving, so I thought I'd share a few pictures.

This is how the warp here in Peru. That big metal thing is their warping frame and they throw the balls of yarn at eachother.


These are women weaving mantas, ponchos, and table runners for sale in the shops. Those are some big ass weavings.


Saturday, January 28, 2012

Ahh the adventures of cooking in Peru without an oven...

So I have an oven. But, my landlady says we're not supposed to use it, because it's not very efficient. But I wanted this apartment partly because it had an oven. So now what do I do?

Obviously I respect her wishes and try not to use the oven (except for cookie emergencies).

What does trying not to use an oven look like?
-Crepes or pancakes instead of baked deserts
-No Bake Cookies
-Going out to purchase pizza instead of making your own *I detest this situation...*
-Saute instead of roast your veggies
-Learn to make cakes in the Microwave...

On that last one... I'm sure you've seen the recipes that float around the internet for Microwave Chocolate Cake in a Mug! I tried it once in Michigan. Not bad actually. But, I am ambitious, and have been CRAVING banana bread, so I decided to make that this morning in my microwave. And it worked! It's not quite like what you'd get in an oven but in a pinch (this counts as a pinch), it is full of banana and tasty for breakfast.

The recipe I adapted...


Banana Bread in a Mug
4 Tbsp flour
3 Tbsp sugar
1/8 tsp. salt
1/4 tsp. baking powder
1 egg
1/8 tsp. cinnamon
2 T. vegetable oil
1/2 mashed banana
1 T. chopped pecans (optional)
Chocolate chips (optional)

In a large microwaveable mug, fully blend flour, sugars, salt, baking powder & baking soda. Add egg until all the dry ingredients are incorporated. Stir in oil, then banana, then nuts. Pop into the microwave 1-1/2 minutes to 3 minutes, depending on your microwave. (Just don’t overcook when you are cooking in the microwave, or you’ll have sponge cake.)
**in Peru microwave—2min

Monday, January 16, 2012

Discontinuous Warps (for warp-faced weavings on Backstrap Looms)

I learned to make a Discontinuous Warp the other day. Now all I have to do is learn how to finish weaving it.... (caught the flu somewhere in there and missed the lesson on how to completely weave something). I'll get there though. It's still really strange, this idea that the weavers here often weave all the way to the end of their warps. That's just unheard of on floor looms, and I've still never done it before, even though I've been here since the end of August (and the belt looms don't count, because it's a completely different kind of finishing than a large weaving). It's just one of those things I've got to learn!

Basic steps for making a Discontinuous Warp... (with pictures to come the next time I make one, because my weaving teacher this time started taking it apart before I could snap the pics I wanted).

For warping, you will need:
Warping frame with center pegs
3 sturdy sticks
enough yarn for your project!
6 short pieces of twine or thin rope
a piece of heavy-duty cotton cord, longer than one of the sticks

1. Tie the sticks to the posts of your warping frame, 1 at each end and one in the center, using the rope. Make sure they are tightly secured so they don't move when you let go of them (and don't lean on these sticks once you've tied them up.
2. Wrap(do not tie yet) your cotton cord at each end of the middle stick.
3. Choose your colors-- for a basic plain-weave discontinuous, you'll want to make sure that your colors look good with what they're opposite to and with what they're next to. Traditionally, one half is light and one is dark, and when I say half, I am referring to the warps on either side of the middle stick. The layout will look a bit like this...

XXOO
AABB

Where X and O stand for darker colors and A and B stand for lighter colors.

The actual layout of the warp will look something like this:

XXOOXXXXXXXXXXXXOOOOOOOOOOOOXXOO
AABBAAAAAAAAAAAABBBBBBBBBBBBAABB

4. Note: For warping, it is often useful to have a second person to help you....
Tie your first colors, X and A, onto the outside sticks of the warping frame, one on each end, opposite each other. Usually I work left to right on this. Choose a color to begin with-- for our purposes, let's just say A is our first color. The warping motion is an under-over, so take your ball of yarn down, under the middle stick and bring it up and over, back toward where the A yarn began. Pass the ball under-over the end stick for yarn A. Set this ball down and move to the X side. Repeat the same under-over action on the middle and then the end stick with this color. Continue alternating the colors, A then X until you have your desired number of warp threads in that color, usually creating a square shape.

**note-- in Peru, it is traditional to wrap 3 A threads, 2B threads, then the body of A threads for your warp. A small stripe is almost always present like that at the edges of the weavings made in the Cusco region.

**Second Note-- Every time you change your colors (example, when you're creating that small edge stripe), you cross/wrap the threads around one another, and lay the thread not in use along the end bar, overlapping it every time you wrap with the color in use.

5. Once you have the number of threads you want, count your threads to double check your number, change to your O and B colors and repeat by wrapping the same number of threads in the other colors. If you created stripes at the edge on the other side, make sure to do this on the edge this time too.

Once you've completely made your warp, it's now time to start attaching it to your backstrap loom!


Things you will need for warping onto your loom:
A backstrap loom large enough for your warp but not too big either.
Heavy cotton twine or twined yarn for tying
nylon thread
a length of pipe (if it's not already part of your loom)
Ruki/Llama bone beater

6. Add your pipe and a sword to either side of your cross on the half you're beginning with and begin making your heddles. To make heddles, use a strong but thin nylon cord. Make a loop on one end and tie a knot so the loop is about 2 finger widths. Thread this through the entire warp. This loop is the first of your heddles. Now begin looping your heddles over your fingers, picking up one warp thread with each loop made, keeping them a consistent size. When you run out of space on your fingers, insert a narrow rod (your weft rod should work just fine for now). Continue until you've made heddles for the entire warp. Get your heddle bar (really it's just a round stick you will tie the heddles to) and a thick piece of twine/twined pieces of yarn and tie the twine tightly to one end. Using the weft rod, pull this piece of twine all the way through all the heddles, being careful not to distort their shapes or tangle them on each other. Tie the twine VERY TIGHTLY at the other end of the heddle bar. Then begin wrapping, using the twine. When you get to the heddles themselves, make sure they're evenly but closely spaced and wrap 5-7 heddles at a time, until you've tightly wrapped the twine all the way to where it began on the heddle rod. Tie it tightly once more. Now your heddles are complete.

7. Lay one of the Warp/Loom Bars over the threads of the end stick on the side of your warp you made the heddles on. Grab a long piece of your heavy twine. Tie to one end of the warp bar, and begin wrapping tightly around the warp bar. Once you get to your heddles, pick up no less than 3 and no more than 5 threads at a time with the heavy twine, and pull it tightly and you continue wrapping and picking up threads. Do this until you have tied up all the warp threads, then wrap around the rest of the bar and loop over the other end. Now, use your Ruki (beater) to pull this cord you just looped tighter yet, going one loop at a time and using your free hand to hold your progress, working from the side you began on to the other end. Once it's all REALLY tight, now you tie the other end tightly. Repeat this on the other end with the other warp bar.

8. Now, wrap your weft thread around your weft rod, spiraling it around until you have LOTS. And now you're ready to weave!

9. Weave until you finish that first section. The last weft should go through both warps. I'll update with the rest of the instructions/more detailed instructions for this and the next part, once I learn it!

Wednesday, January 11, 2012

New Years in Cusco!


New Years Eve was crazy here and the crazy hasn't stopped (hence it taking almost 2 weeks to add some pics/vids of New Years here in Cusco.

This is a video of the masses of people in the plaza. Pictures do it no justice....


(also, I recommend turning down your volume, the person next to me was cheering very loudly)

Chocolatadas Navidenas 2011

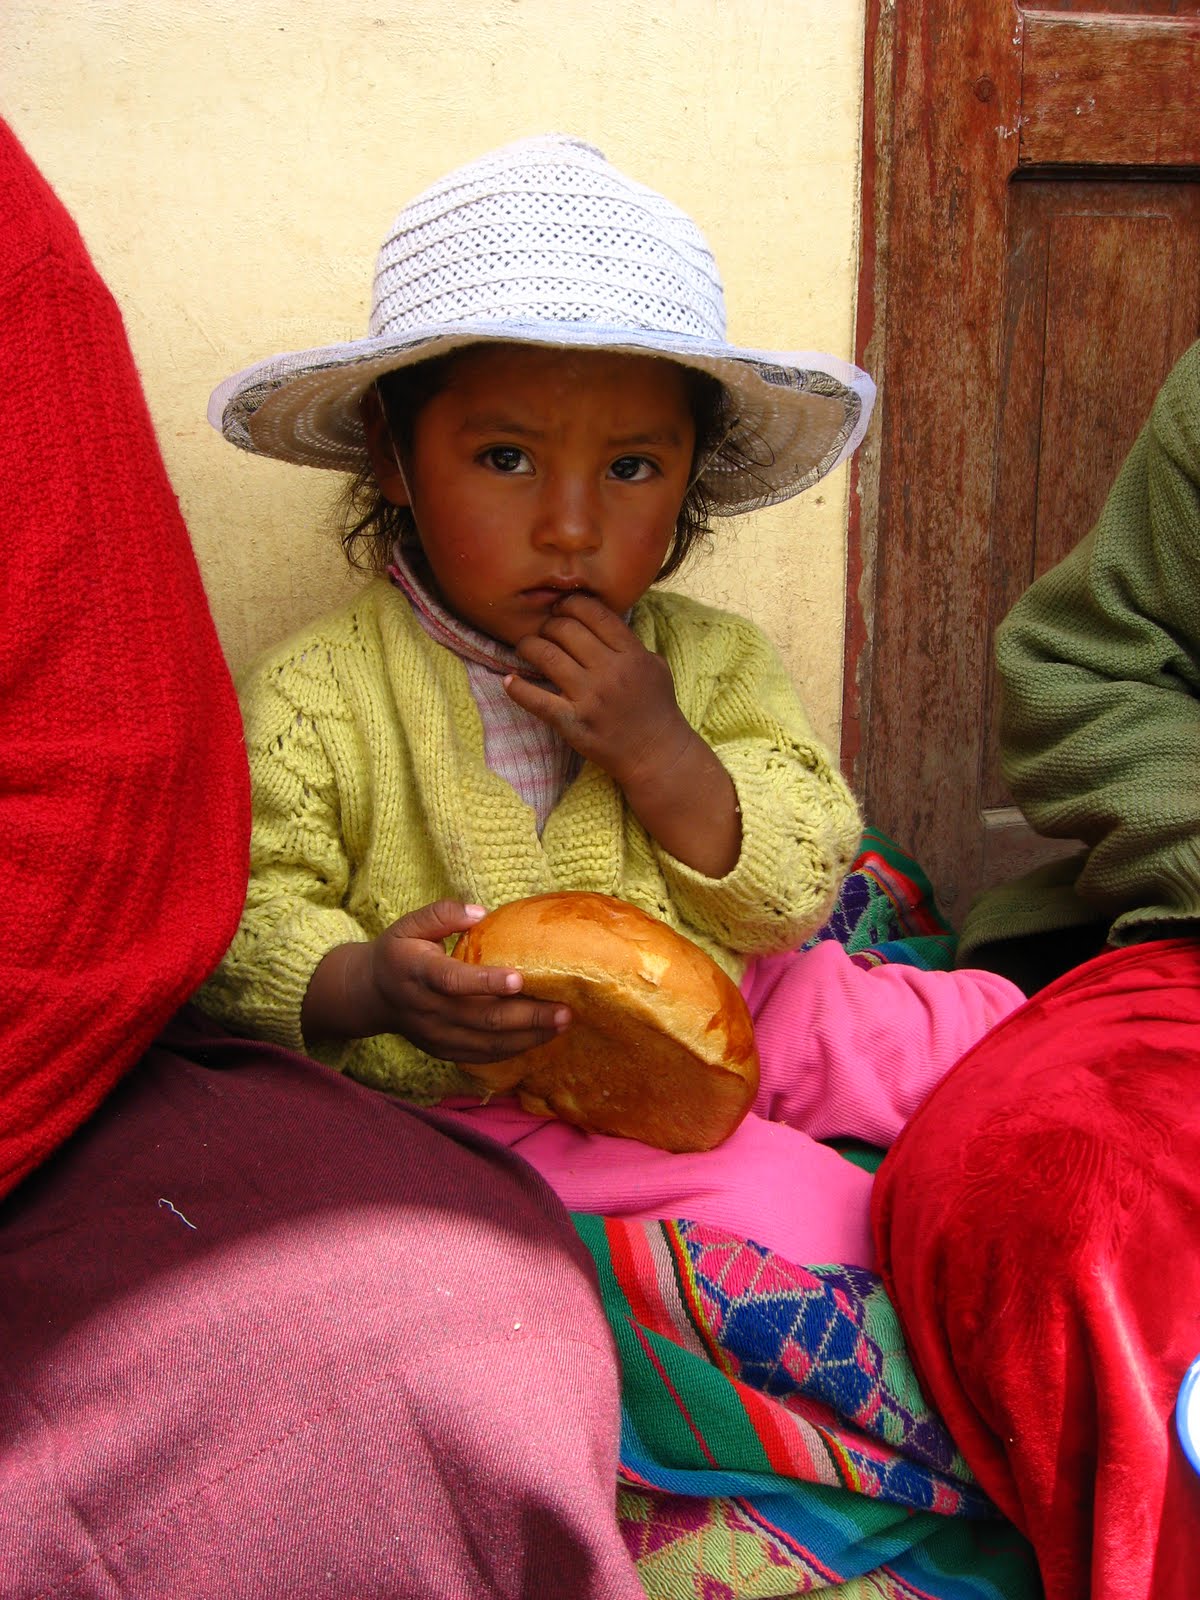
Chocolatadas is a Peruvian thing where various groups take hot chocolate, sweet bread and toys to impoverished children and communities. It might be more specifically a Cusco region thing, but I don't know for sure? I ended up going to our weaving communities Patabamba and Pitumarca for Chocolatadas with the CTTC. The Center took toys, hot cocoa and a sweet bread called Panettone to the children of our 9 communities, given out after a short theater performance for the children.

Patabamba


Pitumarca


Tuesday, December 20, 2011

Rain for Christmas?

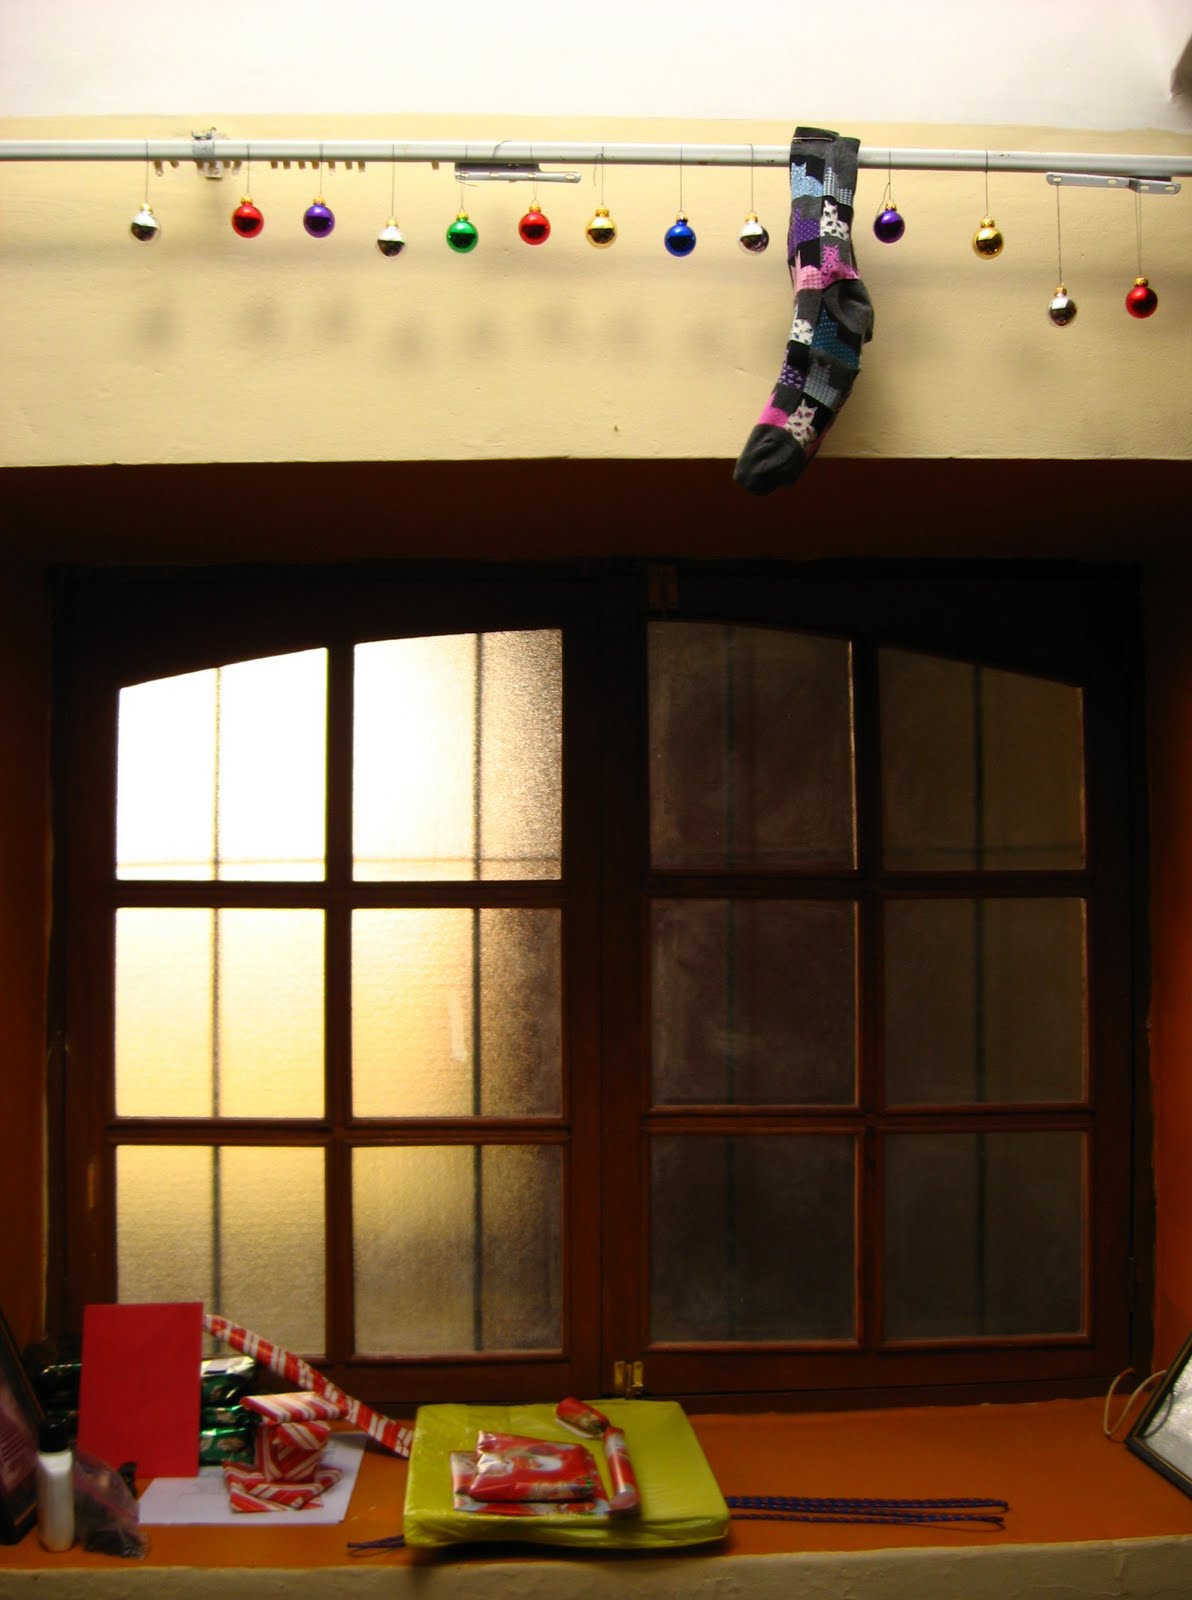
Oh Cusco, you are so different than Michigan when it comes to Christmas..... I don't have piles of snow and fuzzy boots to make everything joyful and white. The houses are not decked from top to bottom in little twinkly lights, and bushy pine trees are a little scarce on the ground. However, I've done my best to instill a little sparkle to my room.


Please note the cat sock stockings... So adorable. I'm still thinking about some xmas lights to go up there with the little glass balls!

Monday, December 19, 2011

First private salsa lesson since I've been in Peru

Went out for salsa last night after some deliberation (I'd been out late ever night since Thursday) and ended up dancing with Heidi, a world champion salsa dancer/instructor from outside of London. She's been around for almost 2 weeks now and while I've seen her around and been introduced to her, last night was the first time I actually got to talk to her and spend some time with her. She was saying she thought she was getting rusty at leading and since there weren't enough guys last night was leading me and one of my friends. She gave me some really good pointers and then somehow I ended up having a private lesson with her (at midnight!) to work on some of my technique things. Cost me $20 but she said she usually charges $90 for privates so I was like Yeah, Okay! It was awesome! Like everyone else here she was really surprised at how fast I learn and absorb information, and we covered A LOT and I was feeling so much better about a bunch of things after. And because I salsa so often, I can practice and work on it. Went back out for some reggaeton-salsa after and just hung out and danced with her. So awesome!

Monday, November 28, 2011

Arequipa, Peru

The desert surrounding Arequipa:
IMG_3614

Took the overnight bus to Arequipa (12 hour trip). Arrived at 6:30 in the morning and had to change clothes and brush my teeth in the bathroom at the bus station… (Good news was, we bought our tickets for the bus to Cusco and they let us leave our suitcases at the bus station for the day!) And then off to the city for a day of wandering.

First stop, breakfast! Second stop, Museo Santury, the current home of the Momia Juanita. This is the same mummy that the Center was invited to analyze textiles for (and I even got to see the textiles we just finished judging the recreations of)!! Then to the Cathedral on the Plaza de Armas, for a tour and to see the reliquaries.

Plaza de Armas
IMG_3662

From the roof of the Cathedral, we could see the local volcano Misti, which was revered as a god by the Incas.

IMG_3654

Volcano Misti!
IMG_3655

Then off to the Archeology Museum of San Antonio, for more Nasca, Wari, and Inca ceramics, textiles and mummies!

IMG_3673

Lunch at a little local bakery and then wandering the back streets to look at the Colonial Period architecture, ornate churches, and, somehow, I stumbled upon an art gallery of amazing water color illustrations of traditional Andean life and festivities.

IMG_3721

IMG_3679

So much wrought iron in this city...
IMG_3688

After lunch, we went to the Iglesia de la Compania (another very ornate church).
Here's it's facade:
IMG_3708

And then off to the Archeology Museum of the Catholic University of Santa Maria, for yet more ceramics, textiles, and mummies! (I estimate, in total, we saw 10 mummies.)

Back at the bus station at 7:30pm for yet another overnight bus ride back to Cusco.
(btw, sleeping on buses, even if they're sleeping buses, for two nights sucks.)

Tuesday, October 11, 2011

Inca Huaca (shrine) walk and the Temple of the Moon

On Saturday, I went with my own personal archeologist (aka my roommate Adrienne) out to the area surrounding the Temple of the Moon to see some of the Inca shrines she’s been identifying, and visit the Temple of the Moon.

IMG_2794

An Inca shrine site. The three hollows were used for housing mummies.

IMG_2788

Caves were some of the most sacred sites in the Inca empire. This is because of their origin myth-- that 4 brothers and 4 sisters came out of a cave and journied to Cusco. Along the way, three brothers died, and one brother made it with his sisters to found the city.

IMG_2771

You can find more pictures at my flickr site: HERE.